Rule of Three for Styling an Entry

For many homes, the entryway is the first space you see after walking in your front door or the last space you see before walking out. This space acts as both a drop zone and the first look at your home—it needs to be functional, and ideally, it’s pretty, too! While there are myriad ways to decorate an entry, I’ll share what worked for me.

FullSizeRender.jpeg

Start with Three Foundational Pieces

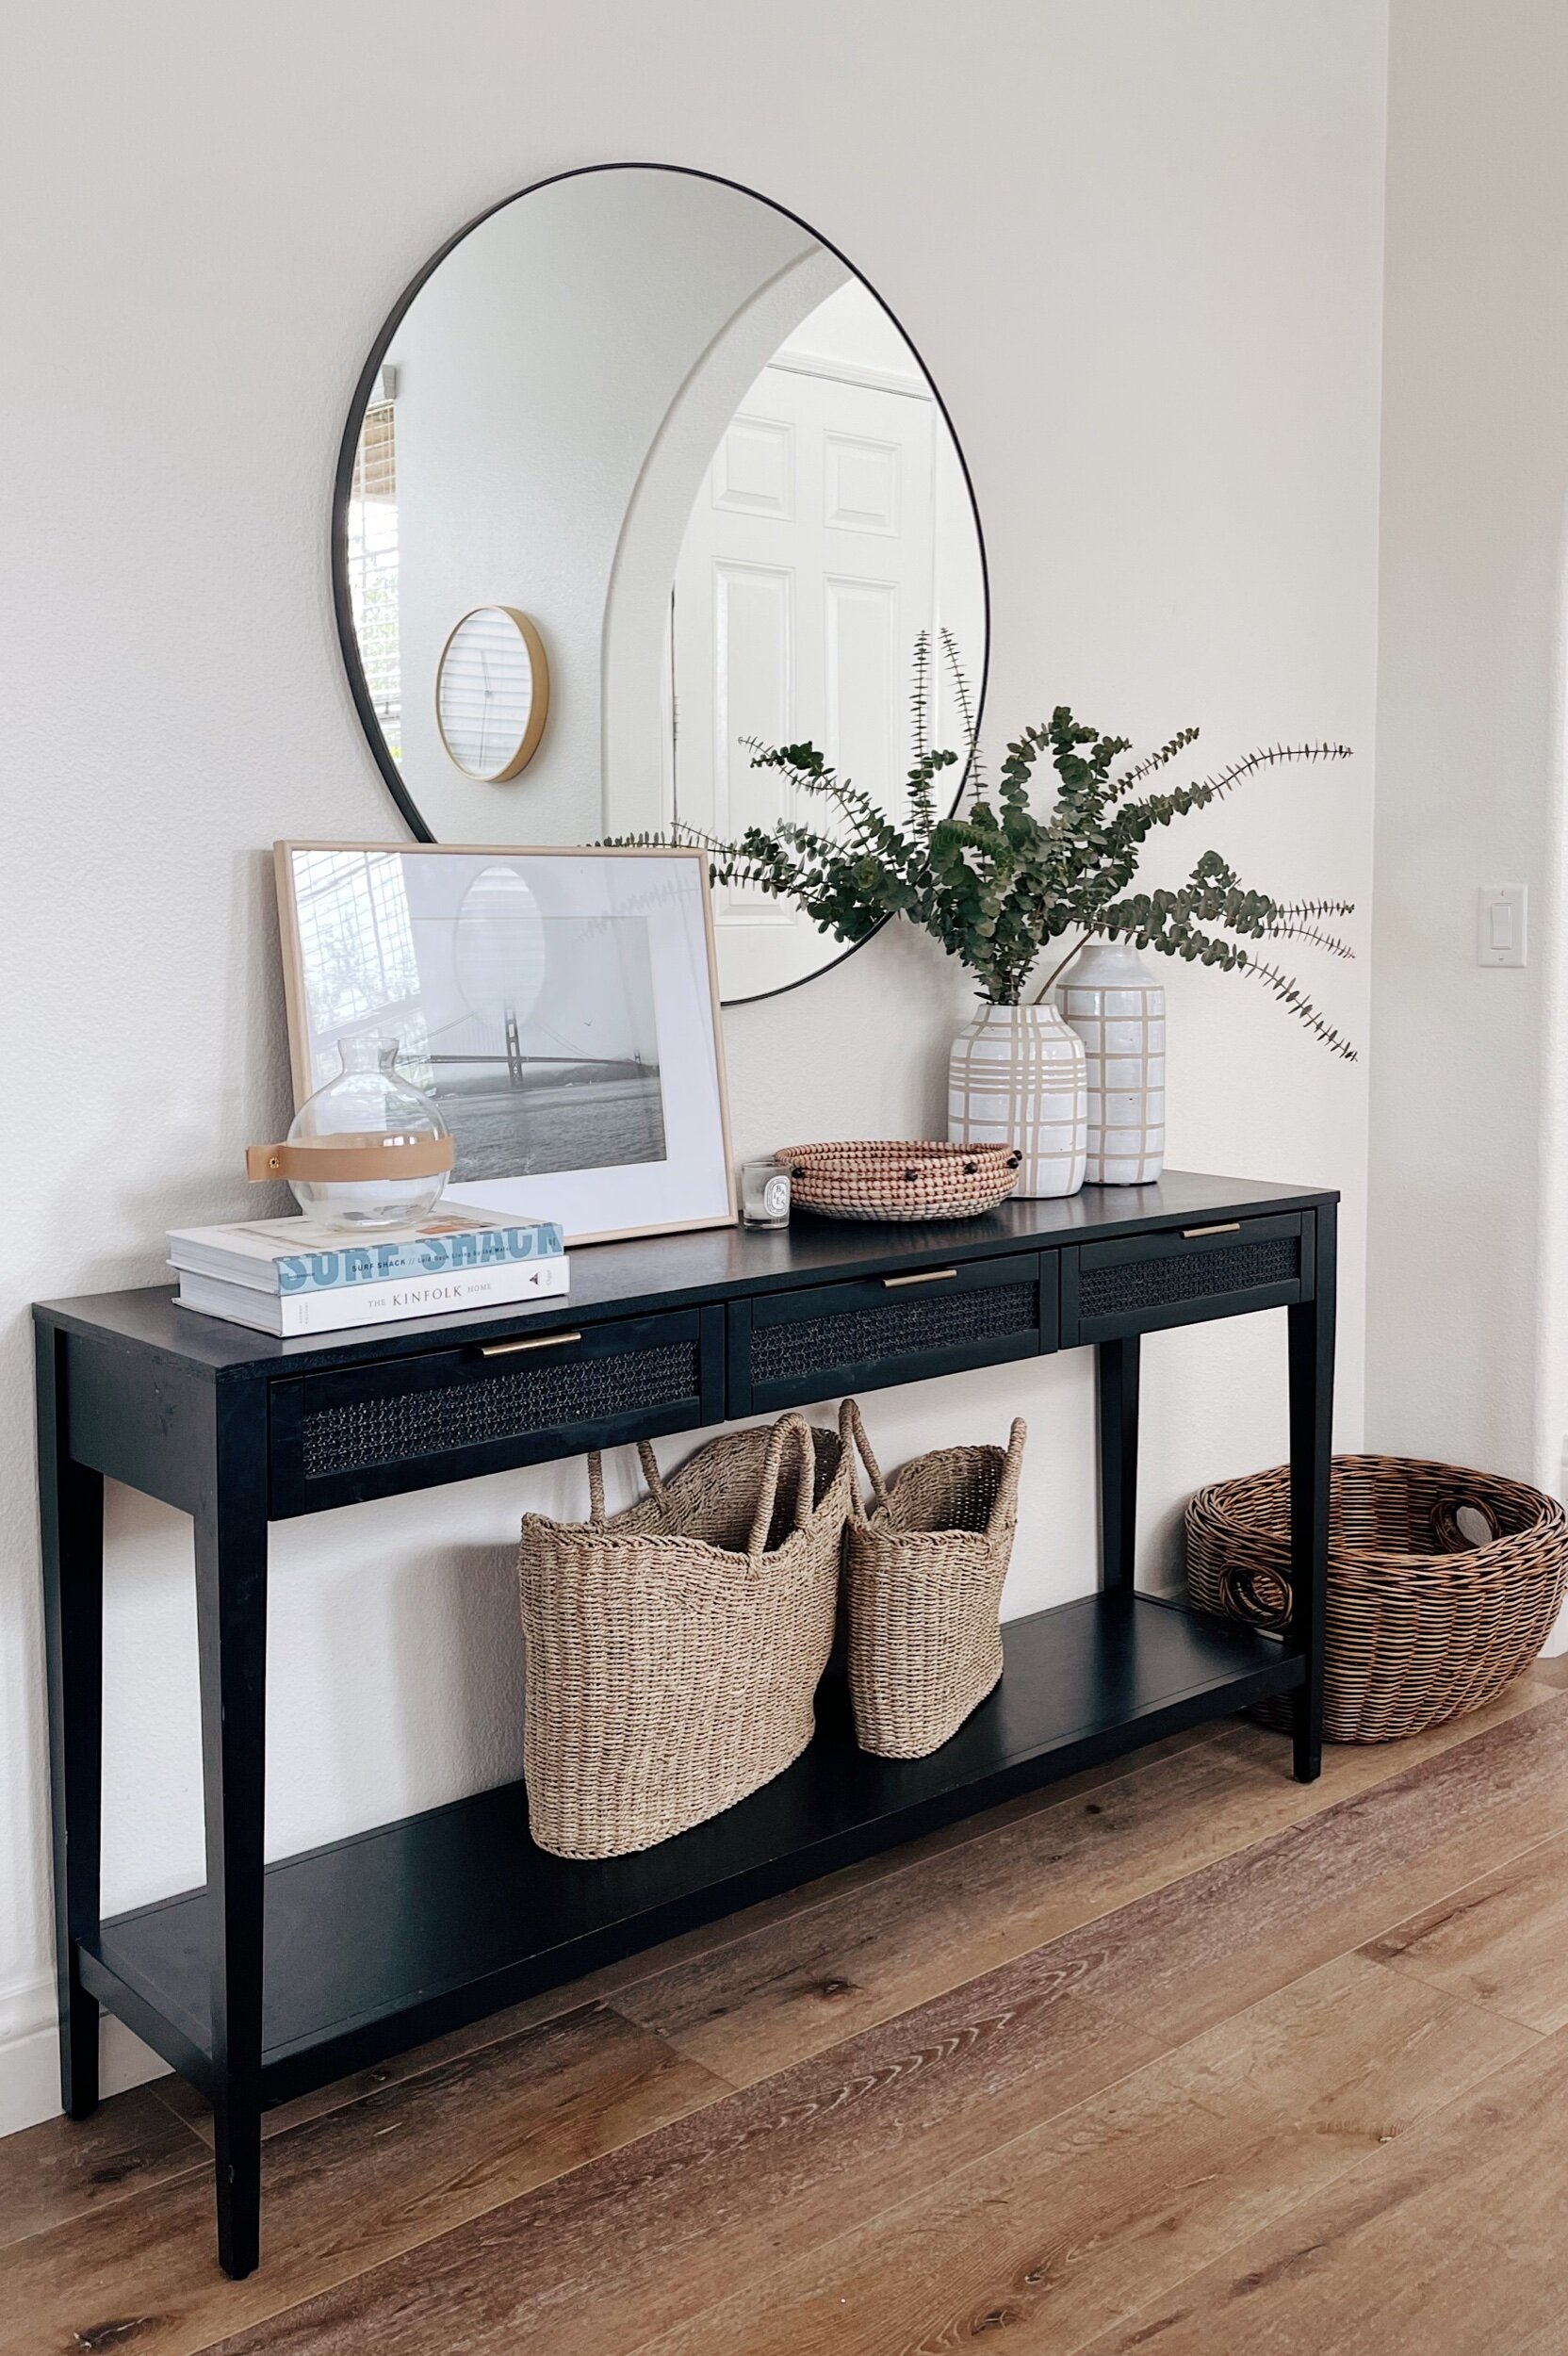
Foundational piece #1: A console table or bench

The space that acts as our entryway is to the left of our stairs, to the right of our hallway closet and faces the dining room. Because the hallway that separates it from the dining room is not wide, I knew that we couldn’t go with bulky or deep furniture that would interfere with the walking space. I toyed with the idea of going with a bench as a sitting area to put on shoes, but decided that the kids could use the stairs for that and instead chose a narrow console table.

Questions to ask yourself: What do you have room for? What’s the best use of the space—as a sit-down drop zone or an upright one? Do you need extra storage in this space?

Foundational piece #2: A mirror or statement art piece

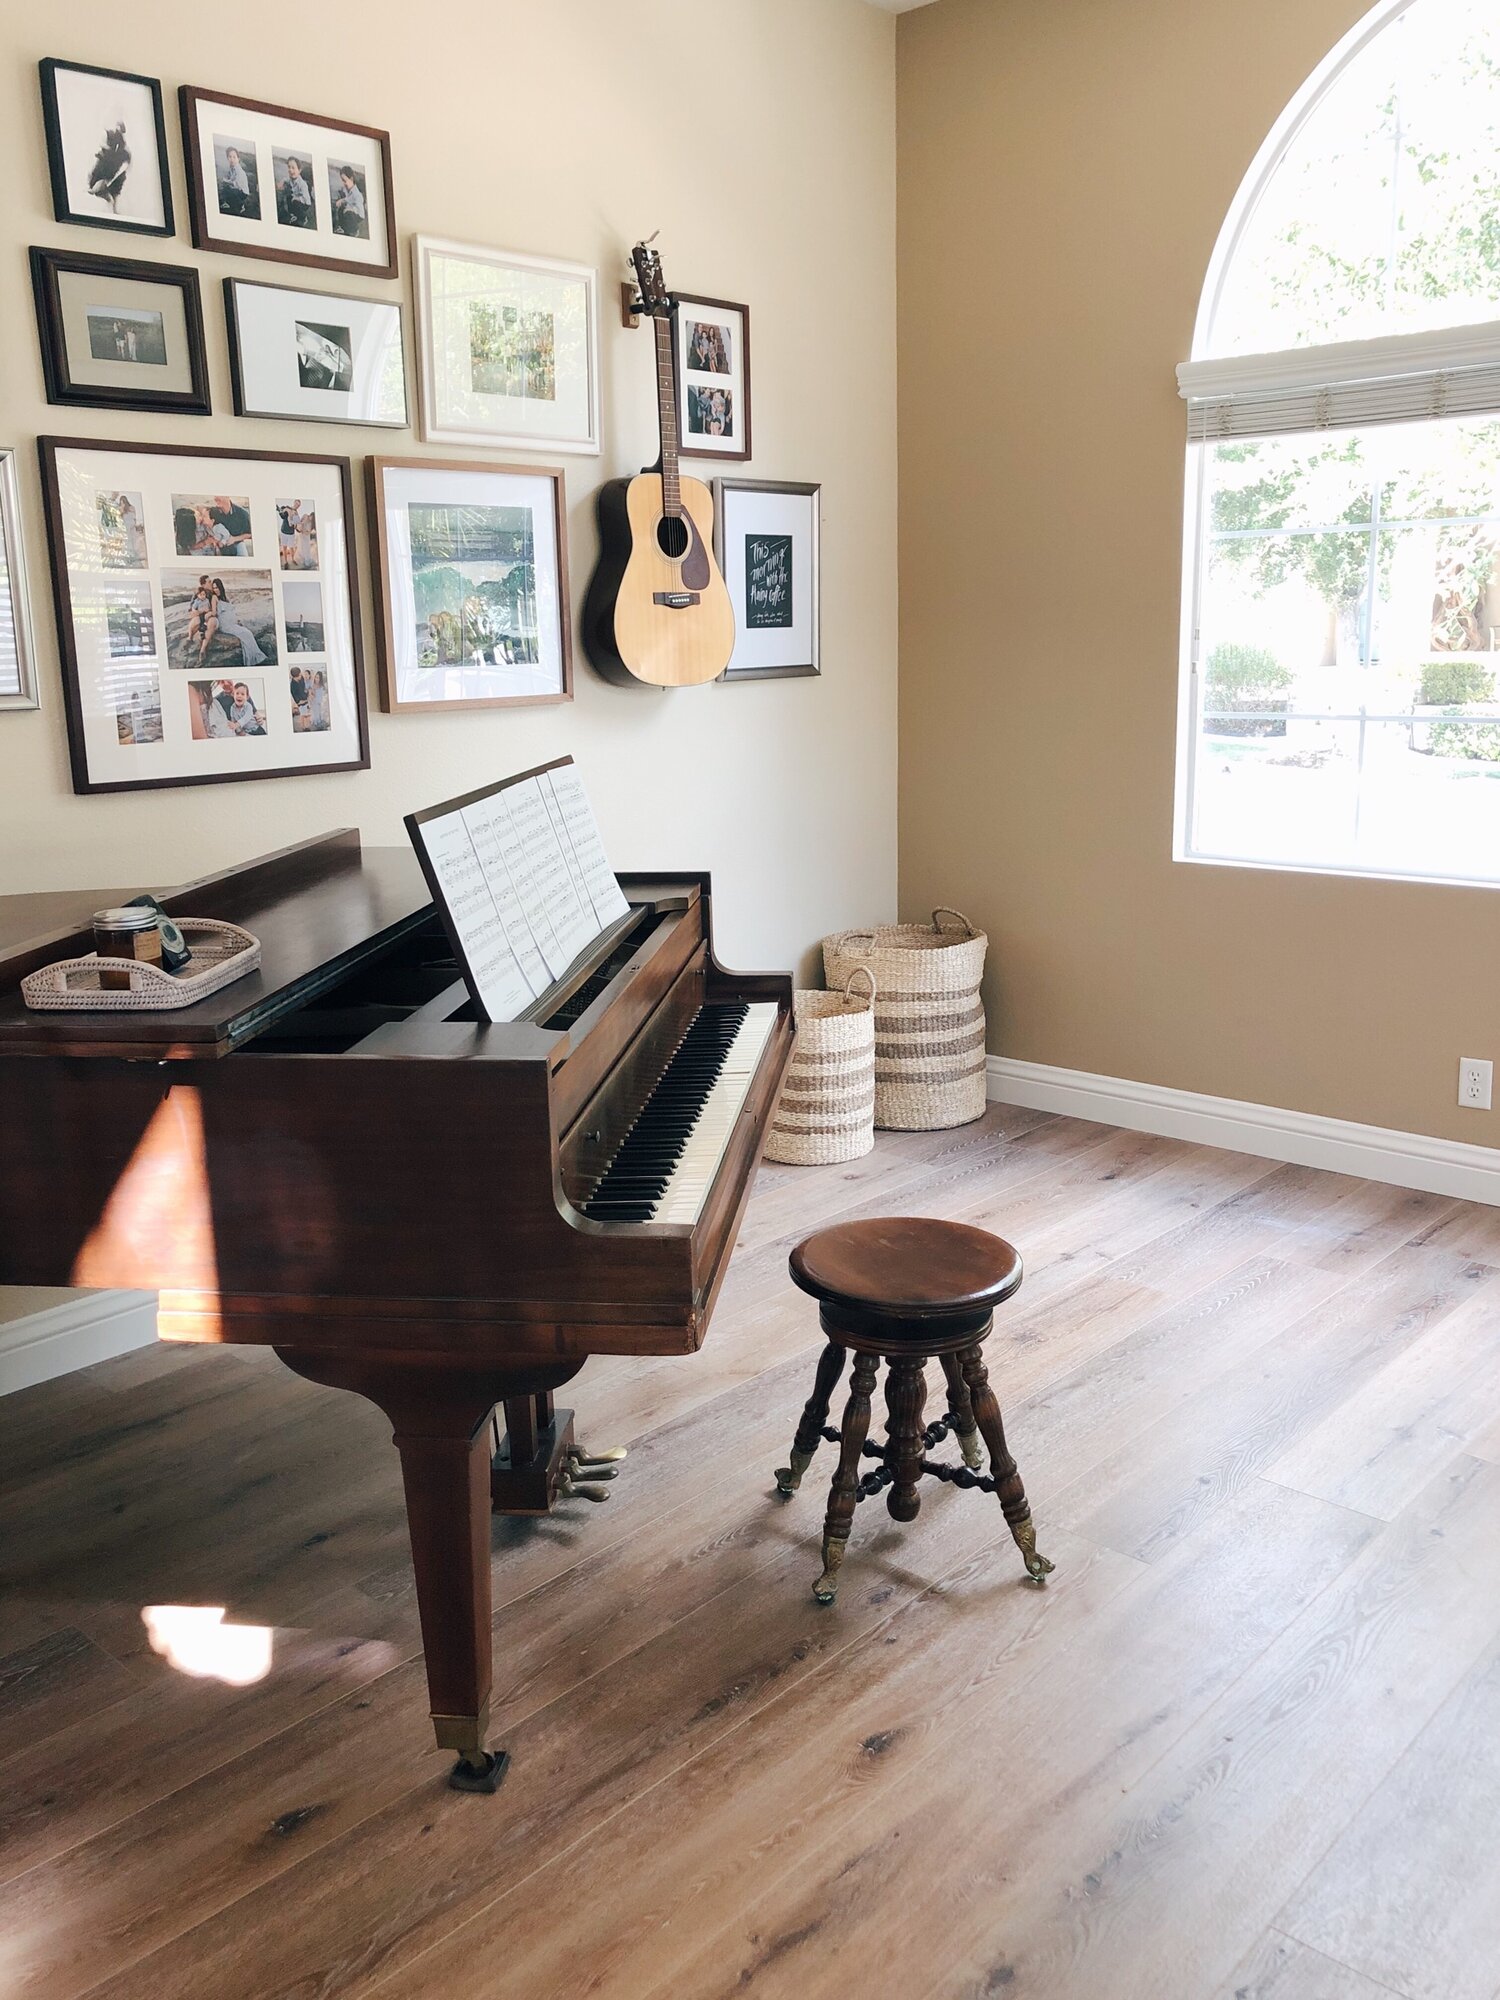
The wall behind the console table was large and empty, so I knew I could go big here. Since I already have a gridded gallery wall of family photos in our living area and an art gallery wall in our piano room, I decided on a large mirror.

A mirror acts to both visually enlarge the area and serve as a “last look” space to check your makeup before you run out the door, so it’s pretty and practical. If you already have a mirror in a different space, a statement art piece is another great option.

Foundational piece #3: A basket, tray or low bowl

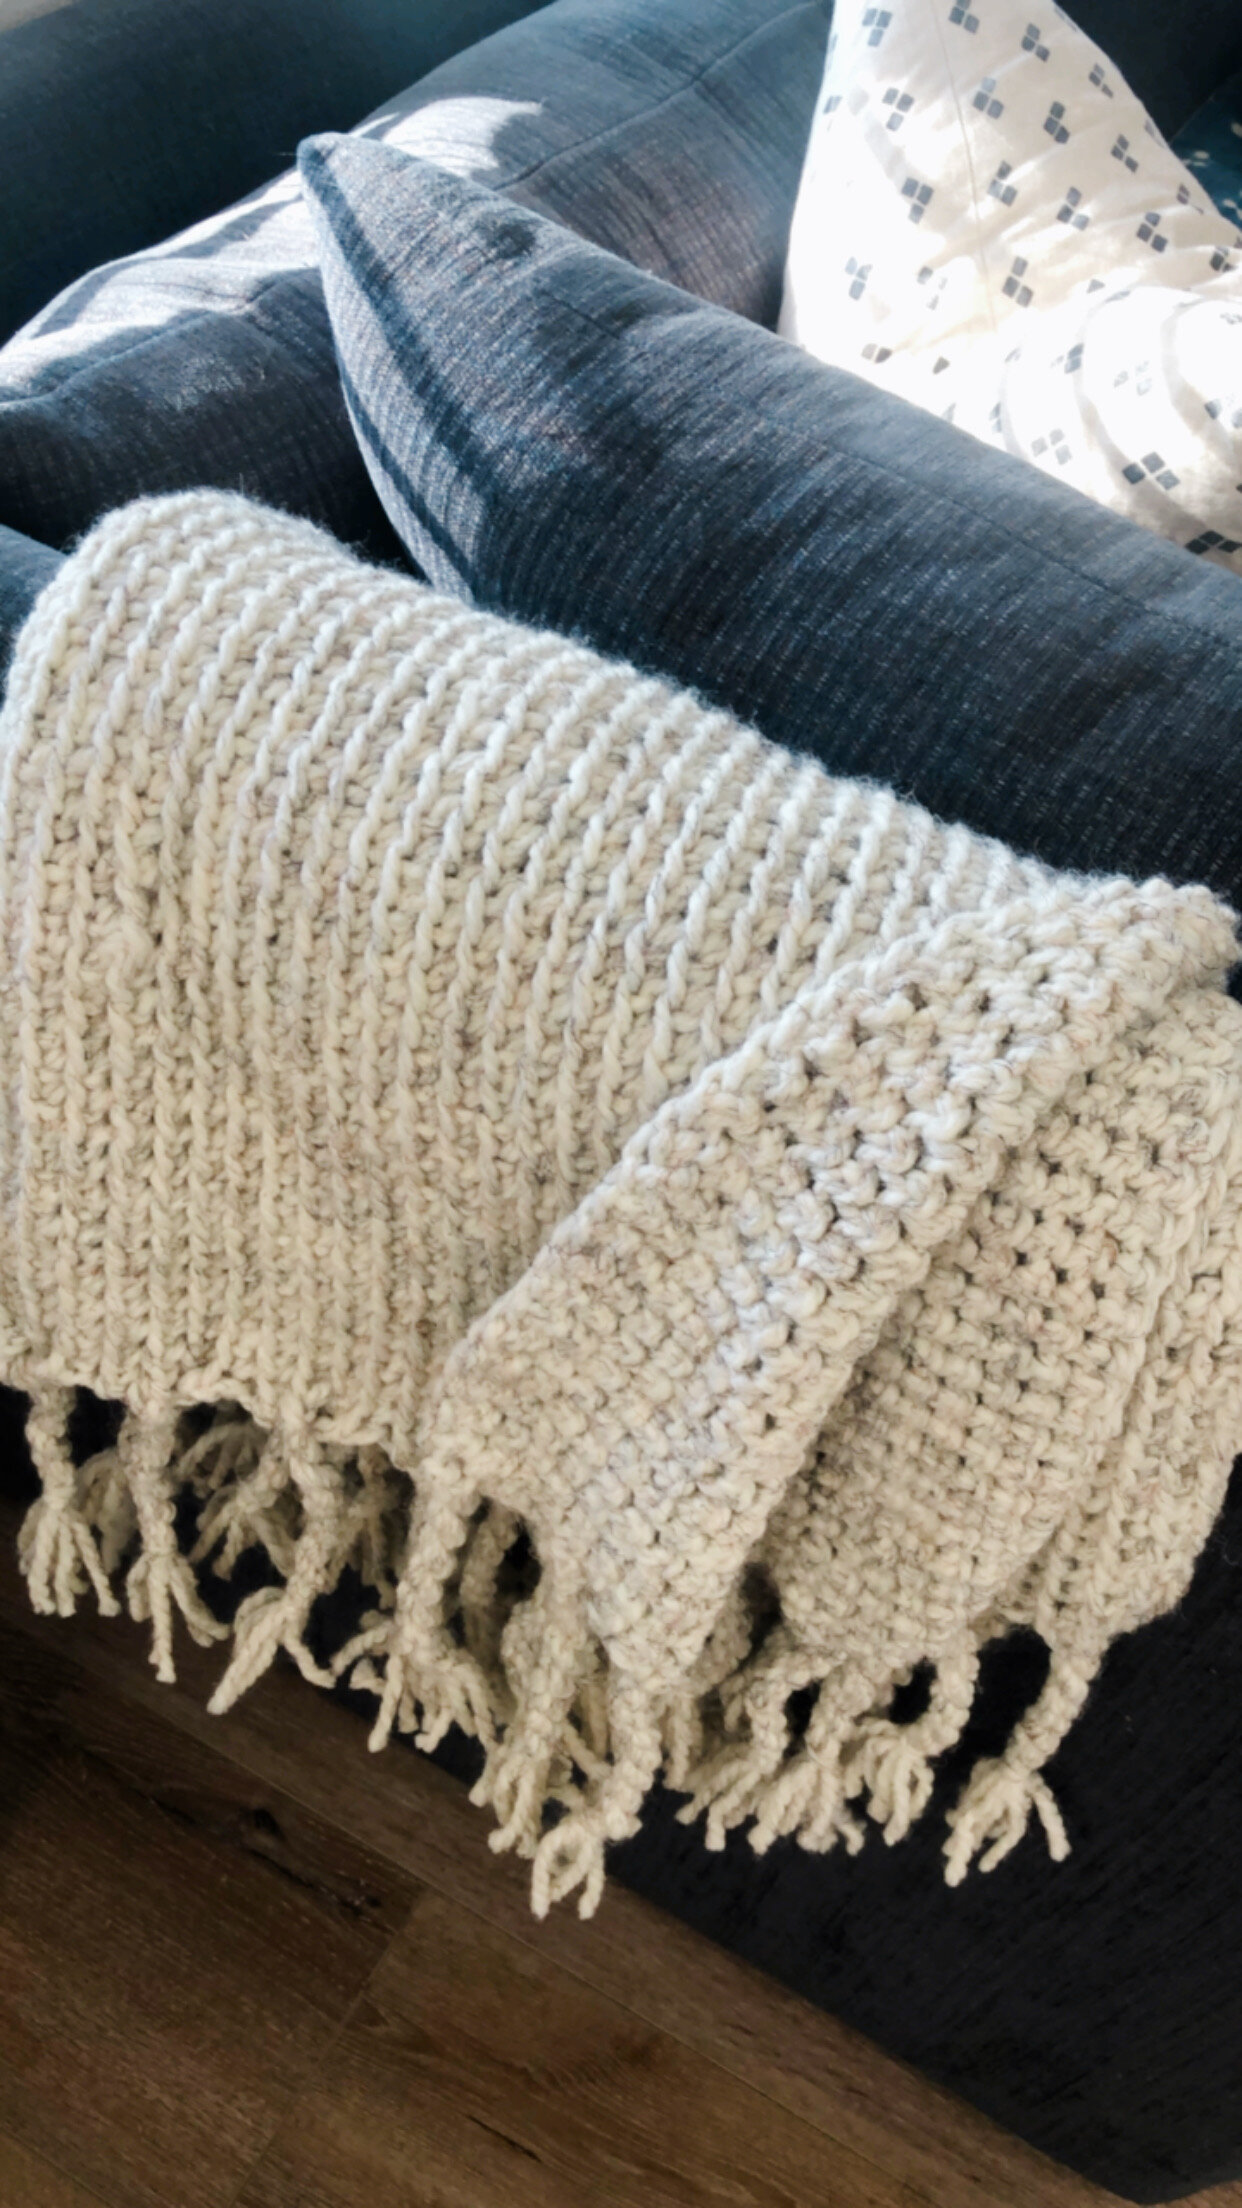
I am a basket queen. I use them everywhere in the house to corral toys, shoes, mail, keys, and other small items. A basket serves as a catchall to throw in keys, sunglasses or a wallet as you are coming in the door, and a tray or low, decorative bowl could do the same. I also have a larger basket next to the console table for guests to place their shoes as they come in.

Think in Three Visual Layers

A Statement Layer

The statement layer is the top third to top half of your entryway wall space. This is the space taken up by your mirror or art piece. You might choose to install a sconce above your mirror or flanking either side—as a way to add additional sources of light if you need it.

A Shelf Layer

This is the linear space where your basket or tray and decorative items—vases, lamps, smaller leaning art pieces, stacked books, candles— will live. Mix in tall, vertical elements like vases or lamps to add balance to the space.

A Grounding Layer

This is the bottom third to the bottom half of the space that visually grounds the vignette. Literal heavy and visually weighty items go here. If you have a bottom shelf to your console table like I do, make sure you choose items with height so you aren’t left with a blank gap between the bottom shelf and where your drawers begin.

Layer in Three Elements

I love incorporating books and framed photographs wherever I can in a room, but there are three other elements that I try to keep in every vignette—

A Pop of Black

I recently learned that there’s a reason why designers incorporate black into spaces—because it keeps your eye moving. But I’ve always loved incorporating black because it adds a layer of contrast that’s visually interesting, and it manages to be both a neutral and the opposite of a neutral at the same time.

Something Woven

Incorporating something woven gives texture and dimension to a space. It’s one of the reasons I keep all sorts of baskets on hand. You can also incorporate texture by incorporating vases or lamps with subtle lines or grids.

Greenery

Greenery, fake or real, adds an element of freshness. We pick up greenery from our local farmers’ market every Sunday.

By dividing a space into elements and layers, it becomes easier to take a phased approach to decorating. Start by gathering your foundational pieces, decorate by layer, then add finishing touches.

Surf Shack 

The Kinfolk Home

Console Table

Frame (also comes in a walnut!)

Mirror

Baskets and shoe basket

Candle

Please Remove Shoes Sign

*some items are affiliate linked and some are non-affiliate linked. If you choose to purchase an item, I may receive a small commission at no extra cost to you.

Notes on How to get started with crochet

It’s been two decades since I crocheted my way through my afghan in a day project at winter camp in middle school, but then I saw a post about I saw a post about Amanda Seyfriend that linked to a candy corn crochet bunting banner and suddenly I was in a rabbit hole of crafting projects on Pinterest. 

I came across the cutest crochet Frankie Stein doll that would be perfect for my Halloween baby’s 2nd birthday. I found a mudcloth pumpkin with a free pattern, a crochet knot pillow that could double as coffee table decor, and a pattern for a fluffy faux fur throw similar to one that my husband wanted from Pottery Barn.

I remember crochet as being fairly easy to learn, but I didn’t how exactly to start. Which project would be easiest for a beginner? Which yarn? What size needle? What do the notations on the  pattern actually mean?

If you’re a beginner, or if you forgot everything that you once knew how to do, this is for you.

Start with this book. I came across Debrosse while I was scrolling through inspiration on Pinterest. Her book, Modern Crochet, gives you access to all of her how to stitch videos along with a great collection of starter patterns (and an overview of how to read patterns) and the exact yarn, etc. you need with links.

I based my first projects on what was available in terms of yarn and hooks and what would be easy. I wanted to start right away with something easy, so I started with a throw. A throw or a blanket is a great way to start because you are basically doing the same stitch over and over again, and with this project, I didn’t have to count stitches after the first round. It takes some effort on the front end to learn the basics, but it’s a great confidence builder, and you will have a big tangible finished product in the end.

If you want to start with the Bainet Throw (pictured above) like I did, you’ll find the pattern in the book above. You will need this P hook (amazon link here, Michael’s link here) and this yarn (I bought 9 skeins, but ended up using only 7 using curbside pickup from Michaels, but you can also buy it at Joann’s). 

This is the video I used to learn to connect the new yarn. I watched the videos that came with the book on how to do a slip stitch, chain stitch, single crochet stitch (back loop only), and slip stitch as I stitched the first couple rows before muscle memory took over.

Stitch markers (inserted into the first stitch on the right side) are a must for keeping track of stitches and rows, even though there is no turning in this project and you will start with a new yarn for each row, going right to left. I recommend buying this set of hooks, as you need a smaller size for the tassels on this project and will need different sizes of hooks eventually anyway. I also bought this tapestry needle set, which I didn’t use until I made my mudcloth pumpkin.

A Few Tips for Starting:

  • The first chain that you stitch should be on the looser side (Debrosse talks about this in her book), so that you don’t end up with a shriveled up blanket side.

  • Get a feel for your tension (how tight or loose you stitch) by stitching a chain and then a few single crochet (sc) stitches into that chain. You can easily unravel this and start over–one of the best parts of crochet!

  • Give yourself lots of grace–the beginning of each project is the hardest, and you will end better than you started. This means that the first rows of your project may look too loose or too tight until you get a hang of the right tension, but no one else will notice.

  • For me, it helped to just start. I picked a project and learned what I needed for that project, using the book and YouTube videos for reference. I didn’t learn how to make a magic ring until I started the pumpkin (linked below), and I didn’t learn how to switch colors or stitch continuous rounds until I started Frankie Stein (also linked below).

my mudcloth pumpkin, a.k.a. boy children-friendly holiday decor

my mudcloth pumpkin, a.k.a. boy children-friendly holiday decor

Other patterns I purchased and my next projects:

Paix Fur Throw by Debrosse This looks simple, but I’ve started it and it’s actually not because you can’t see any of your stitches, so you are basically stitching blind. 

Mudcloth Pumpkin This is a free pattern that you can buy on etsy if you want the ad-free version. It took me several tries to get the hang of the magic circle that is the basis for this pattern, but now that I know how, I can make...

Frankie Stein For Micah’s halloween bday! This is my first doll project, and I’m having so much fun with it.

Mare Knot Pillow by Debrosse Decorative wood, concrete or metal knots are all the rage right now in interior decor, so why *knot throw a velvet yarn once in the mix. See what I did there? ;)

The Croix Coaster (from the Modern Crochet book). I imagine this would also be a good project to start with, but the yarn wasn’t in stock at the time. I just now purchased supplies for this: this yarn (I think you’ll only need 1 skein of it for this project) and these rings. Basically all patterns Debrosse are beautiful with the clearest explanations and accompanying video links.

All those patterns will tell you what supplies you need. I buy the exact yarn they recommend because I don’t trust my skill in finding appropriate substitutes. 

I love all things creative – writing, graphic design, interior decor, cookie decorating, calligraphy. But what I love about crochet is: one–it’s super easy to learn, two––it’s tangible and three–with the help of stitch markers, it’s easy to start, stop, tuck into a basket, and pick up again when there’s time. I can work on a project while watching a show with my husband or a movie with my kids or listening to an audible book (most recently: The Matriarch, a biography of Barbara Bush and Becoming–highly recommend both). Where so many other parts of my life require mental gymnastics, the most demanding part of crochet is keeping track of stitches and rounds.

For a girl who’s felt a little bit creatively stuck in this chaotic season, it feels good to hold something tangible and be able to say I finished this.

*This post contains Amazon affiliate links. If you purchase using the links above, I’ll receive a teeny, tiny commission that will probably go towards supporting my new old lady yarn habit.

Our boys’ room

It’s taken nearly a year of living in our house, but the boys’ room has finally come together. 

We tackled some basics first: repainting the interior white, replacing the carpet with flooring that matches our main floor, disassembling the crib that our third child never slept in (I know, I know, we’re terrible at sleep training).

What I’ve learned is that rooms (and dreams) come together in three parts: with vision, material objects, and people.

62B335C1-2DF7-416A-B8FD-1546C0849EF9-5489C376-378C-4A50-8F52-B30B4EF29666.jpeg

VISION

Before we even stepped foot in our current home, I pictured a mountains-to-beach room for our boys. Where we live in Southern California, it’s about an hour to the mountains and a fifteen-minute drive to the beach. We’ve never tried skiing and surfing in the same day, but I imagine with three boys, it will be a bucket list item someday.

You can start with an image, a Pinterest board, an idea. You can start with a few words that describe what you want the room to feel like once you’re living in it and how the space needs to function. Getting clear on exactly what you want is the first step.

OBJECTS

For the boys’ room, I gathered:

That owl lamp I bought on sale from the Anthropologie in Santa Monica a decade ago.

The truck piggy bank Noah painted when he turned two and the horse painted by Judah on his 2nd birthday (in a serious Spirit Riding Free phase). 

The chalkboard Mumford & Sons lyric calligraphy piece I bought from a pop up market in my hometown the day I turned 28.

The Strands pennant and Swiss army box I bought and hoarded for over a year in a moving box.

The prints I bought before the All Good Things Collective closed up shop – Micah 6:8 for Micah, 2 Timothy 1:7 for Judah, I Peter 5:7 for Noah and Proverbs 17:17 for all three of them.

The thing about objects (and dreams): you have what you need to start.

You don’t need a trip to Home Goods or all the latest decor items from McGee & Co. When you  begin to look around your house – or your life – you realize that you already have little gems scattered all around. They just need to be unearthed, repurposed, gathered.

691A8C62-4E70-4DB4-B625-4D3851E8D9F4-B357653B-64E1-4EB6-969B-BF3F4DA480DB.jpeg
1E20B578-82BF-4009-A774-849A43B4CFF7-3FA22E2B-DB5F-43E4-B4A9-FA41713FB0E9.jpeg
CEC5D14E-3601-4F8F-8C4D-65714E5BB820-0C6F180F-04BA-4BA1-BCF0-F6719C9C0341.jpeg
3A7321F6-4EBD-412B-A3CD-49BB86270F9A-8D230CD7-AF88-47E4-9FAA-8A397630ABF0.jpeg
CBD29691-715C-4C4C-9514-F67A11A8F563-F67B64F4-49CA-4A01-B60F-9CF5BE2C8842.jpeg

PEOPLE

I love how the boys’ room turned out – it’s exactly what I wanted for them – but I especially love how they make it their own.

I’ve found them building train sets in the corner and sliding down into the reading nook floor cushions. At night, all three of them tuck themselves into the bottom bunk, and we read books pulled from the basket next to the bed. 

The vision, the stuff – it was all for this, moments with my three sweet little people. In decorating and in life, what starts with vision, ends with people.

Dining Room Vision

There’s no time quite like the present (i.e. pandemic stay-at-home crisis) to do some home dreaming, amiright?

Adjustments.jpeg

A few months ago, I started drawing up vision boards for our home but never got around to sharing them here. I envisioned a round table with black oak “Ruthie” chairs — traditional and coastal, with clean lines and a pop of brass. Hugh Forte’s beach photography is stunning, and I love investing in art whenever I can. The potted olive tree is fake, because let’s be honest, I have enough to keep alive with my kids; let’s not add plants into the mix.

Adjustments.jpeg

When I found a Restoration Hardware vintage French fluted expandable dining table (the dinner parties!) on Facebook Marketplace in a black wash for $200, I scooped it up and revisited my design plan. I still love the contrast of black with white oak or a natural hardwood, and these chairs offset the curves of the table and add texture with the woven element on the seat. The chandelier feels clean and modern, balancing the vintage-ness and density of the black table with a lighter, minimal piece that carries the black all the way up visually.

Adjustments.jpeg

However (isn’t there alway a “however”?), budget still dictates decor plans, and for one of the McGee Eloise chairs, I could buy three of these Target Project 62 chairs (as soon as they restock). I bought one that was in stock at a local Target to try it out, and I love how the curves of the chair mimic the curves of the table while still offsetting the ornate details with clean lines. Juniper Print Shop makes prints that can be framed in IKEA frames, and I could keep the large format art look with this and this.

Just like with fashion, I love mixing high-low elements — pricey pieces with more affordable ones. Right now our dining room (and most of our house) is a weird brown-beige, but I’m looking forward to fresh white walls and hopefully a quick restock of these chairs in order to “finish” our dining room.

In the meantime, I’m still dreaming. Living room, piano room, and entryway vision boards up next.

Five house projects we want to tackle over the next year.

Where do I even begin?!

Life has been so full this season with the move and other good things, and it’s been a challenge for me to divide my time between creative projects, sharing those projects and actually living life.

One of these days, I’ll sit down and pull together a design board from all the inspirational photos I’ve saved. I’ll create actual decorating plans for each of the rooms, and maybe I’ll even learn how to render. Right now, the grand vision I have for the look and feel of our new house – Southern California coastal meets modern Spanish – mostly lives in my head, but I have a deep desire to document this making-of-our-home process, so I’ll start today with the easiest, simplest thing I can think of – an intro to our home and the five big projects we want to tackle.

A peek at our house – I love the arched doorways, the floors, the built-ins.

A peek at our house – I love the arched doorways, the floors, the built-ins.

Our new house is a five-bedroom Spanish bungalow in the sweetest neighborhood with recessed sidewalks and tree-lined streets. We’re in a cul-de-sac, sandwiched between two pocket parks, and the weekend after we moved in, there was a block party. We get morning light from the front of the house and sunset light through the back that makes our kitchen and master bedroom glow at golden hour. We have two sets of French doors – one downstairs, one upstairs for the master balcony – that if it weren’t for the bugs, I would keep open all day long.

We don’t have a dining table or chairs. Our couch is too small, our nightstands got damaged in the move, and I don’t have anywhere to set down my bag when I get home, so it lands on the floor. But we have windows everywhere and so much potential. This is the fun part – this blank slate and open space.

Our little coffee station that brings me so much happiness. Even my cookbooks have a home now!

Our little coffee station that brings me so much happiness. Even my cookbooks have a home now!

Another day, I’ll tell the story of our house. Meanwhile, here’s our top five project list:

  1. Repaint the entire house white and paint the stair banisters. We painted our last house Benjamin Moore’s Classic Gray, but I’ve realized that I love the fresh, crisp and bright look of an all-white house with pops of black and warm wood accents. Choosing white paint is like traveling down a rabbit hole – there are literally thousands of shades. Currently, I’m considering Benjamin Moore’s Swiss Coffee and Simply White (see Studio McGee’s white paint guide) and Dunn Edward’s White Heat (that Amber Lewis used in the Client What’s the Story Spanish Glory house). I loved how Jenni from I SPY DIY transformed her stair banisters, and we may do the same thing with the Satin Black.

  2. Take the downstairs flooring throughout the entire house. The stairs and second floor are currently carpeted, which isn’t the worst thing thing in the world, but I love how easy the downstairs flooring is to clean (and it hides dirt so well!).

  3. Repaint the exterior and update the front door (dutch or glass paneled) and exterior lighting. We’re going with a modern Spanish vibe here – a crisp white (leaning towards BM’s White Dove) with deep brown and muted blue-gray accents.

  4. Get solar installed to bring down our electric bill.

  5. Get a fire pit installed in the backyard for post-dinner party s’mores and an outdoor/dirty kitchen to augment the built-in BBQ.

I love this piano room so much – high ceilings, lots of light. We can’t wait to put our Christmas tree in front of that window.

I love this piano room so much – high ceilings, lots of light. We can’t wait to put our Christmas tree in front of that window.

As a little girl, I dreamed of being an interior designer, so I feel like some big dreams are coming true for me with getting to design and decorate this house. This house marks a new journey for us, and I’m excited to share more in the coming months.